
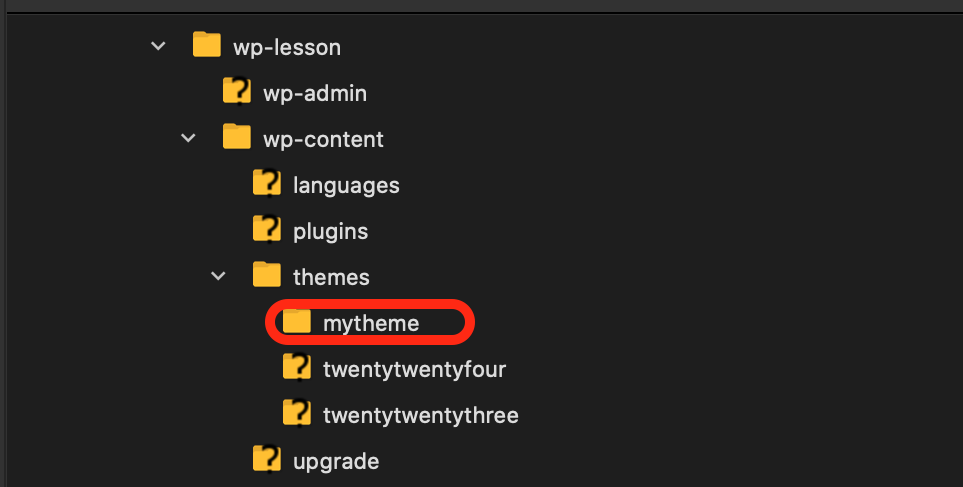
1)テーマのディレクトリ作成する
wp-content/themes/ ディレクトリ内にテーマ名のディレクトリを作成します。
public\wp-content\themes\テーマ名
2)テーマに必要なファイルの作成(最小構成)
最小構成
テーマ名ディレクトリ直下にstyle.cssとindex.phpを作成します。
- index.php:テーマの基本テンプレート
- style.css:テーマの名前などを記述
※テーマ名も必須
「style.css」を作成
style.cssにコメント形式で詳細情報を記述します。
@charset "UTF-8";
/*
 Theme Name: mytheme
*/
「index.php」を作成
<!DOCTYPE html>
<html lang="ja">
<head>
  <meta charset="UTF-8">
  <meta name="viewport" content="width=device-width, initial-scale=1.0">
  <title>Document</title>

  <?php wp_head(); ?>
</head>
<body>

  <?php wp_footer(); ?>
</body>
</html>
<?php wp_head(); ?>、<?php wp_footer(); ?>の記述によって下記の通りになります
- WordPressの基本機能のコードの出力(管理ツールバーが表示)
- プラグイン機能のコードが出力
パーツファイルを作成
「header.php」を作成
<!DOCTYPE html>
<html lang="ja">
<head>
  <meta charset="UTF-8">
  <meta name="viewport" content="width=device-width, initial-scale=1.0">
  <meta name="description" content="<?php bloginfo( 'description' )?>">
  <title><?php bloginfo( 'name' ); ?></title>
  <?php wp_head(); ?>
</head>
<body>
「footer.php」を作成
<?php wp_footer(); ?>
</body>
</html>
「index.php」を編集
<?php get_header(); ?>

<?php get_footer(); ?>
メニュー表示
外観>メニューからナビゲーションの編集
※初期状態ではOFF状態で表示されていません
「functions.php」もしくはプラグイン「WPCode」PHP スニペットで下記を記述
add_action('after_setup_theme', //テーマ初期化のタイミングで関数を読み込み
	function() {
		add_theme_support('menus'); //メニュー機能をON
		register_nav_menus([ //メニューの表示位置を作成
			'header_nav' => 'ヘッダーナビゲーション'
		]);
	}
);
▼header.phpを編集
<!DOCTYPE html>
<html lang="ja">
<head>
  <meta charset="UTF-8">
  <meta name="viewport" content="width=device-width, initial-scale=1.0">
  <meta name="description" content="<?php bloginfo( 'description' )?>">
  <title><?php bloginfo( 'name' ); ?></title>
  <?php wp_head(); ?>
</head>
<body>
    <header>
    <?php wp_nav_menu(); ?>
    </header>
投稿ページ用テンプレートの作成
single.phpを作成
<?php
/**
 * Template Name: テンプレート1
 * Template Post Type: post,page
 */
?>

<?php get_header(); ?>
  <?php
  if (have_posts()) :
    while (have_posts()) : the_post();
  ?>
      <h1><?php the_title(); ?></h1>
      <?php the_content(); ?>
  <?php
    endwhile;
  endif;
  ?>
<?php get_footer(); ?>
アイキャッチ機能を有効化する
「functions.php」もしくはプラグイン「WPCode」PHP スニペットで下記を記述
add_action('after_setup_theme', //テーマ初期化のタイミングで関数を読み込み
	function() {
		add_theme_support( 'post-thumbnails' ); //アイキャッチ画像をON
	}
);
↓テンプレートファイルに追記
<?php if (has_post_thumbnail()) : ?>
    <?php the_post_thumbnail( array(200,150), array( 'class' => 'icatch' ) ); ?>
<?php endif; ?>
投稿一覧用テンプレートの作成
↓index.phpを編集
<?php get_header(); ?>
  <h1>postList</h1>
  <hr>
  <?php if (have_posts()) : ?>
    <ul class="postList">
      <?php while (have_posts()) : the_post(); ?>
        <li>
          <?php if (has_post_thumbnail()) : ?>
            <?php the_post_thumbnail( array(200,150), array( 'class' => 'icatch' ) ); ?>
          <?php else: ?>
            <img src="https://internet.mints.ne.jp/wp/wp-content/uploads/2024/05/noimg.png" alt="NoImage" width="200">
          <?php endif; ?>
          <a href="<?php echo get_permalink(); ?>"><?php the_title('<h2 class="postList__title">', '</h2>'); ?></a>
          <?php the_category(); ?>
        </li>
      <?php endwhile; ?>
    </ul>
    <!-- /.postList -->
  <?php endif;?>
<?php get_footer(); ?>