
Googleサーチコンソール登録手順
1)【Googleサーチコンソール】HTMLタグの値を確認
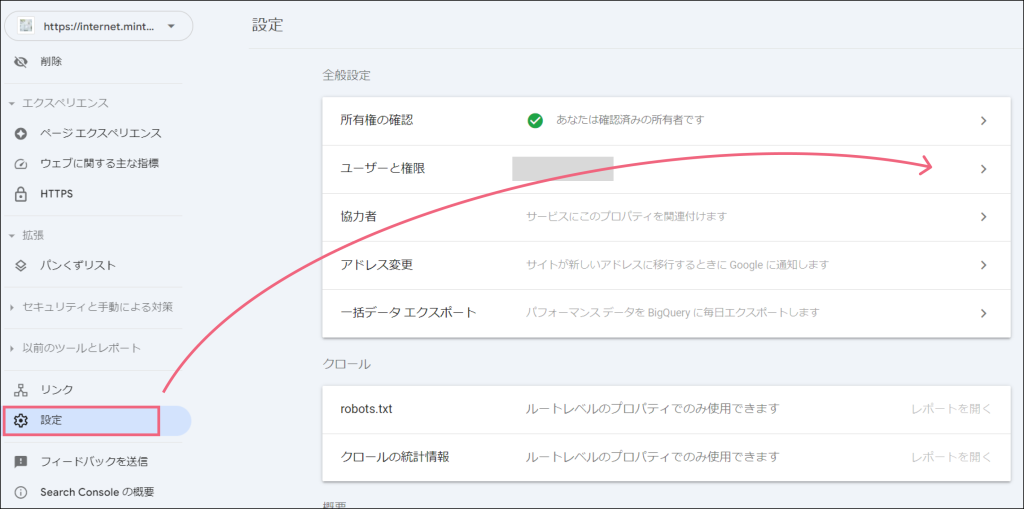
▼Googleサーチコンソールにログイン「設定」→「ユーザーと権限」を選択
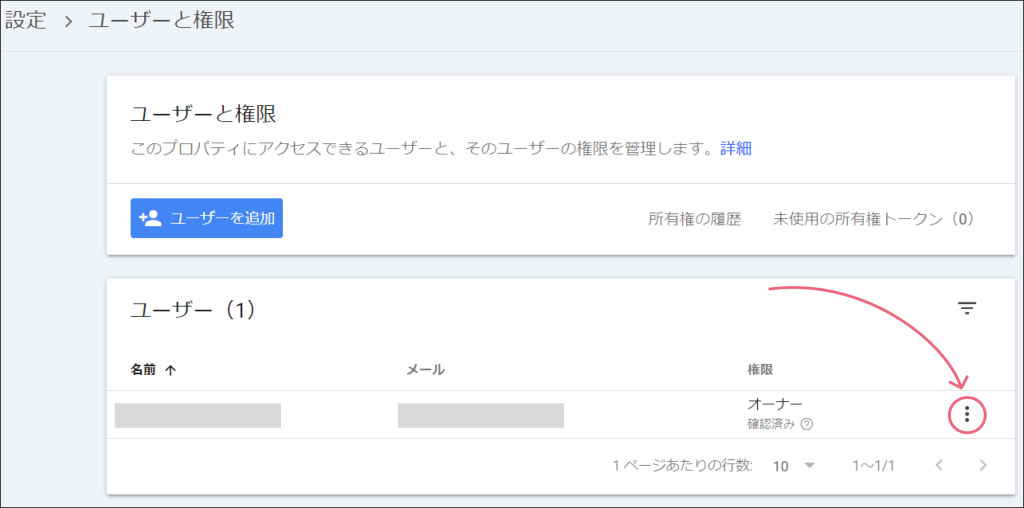
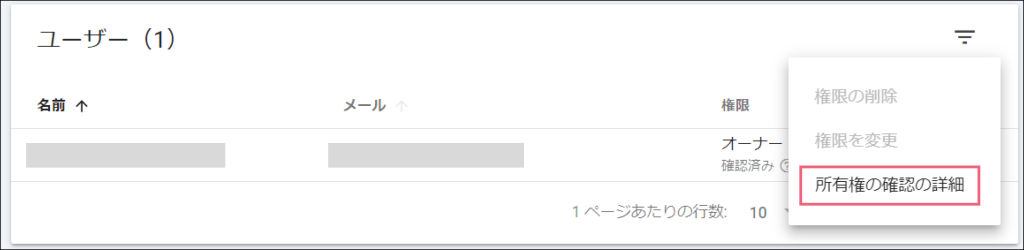
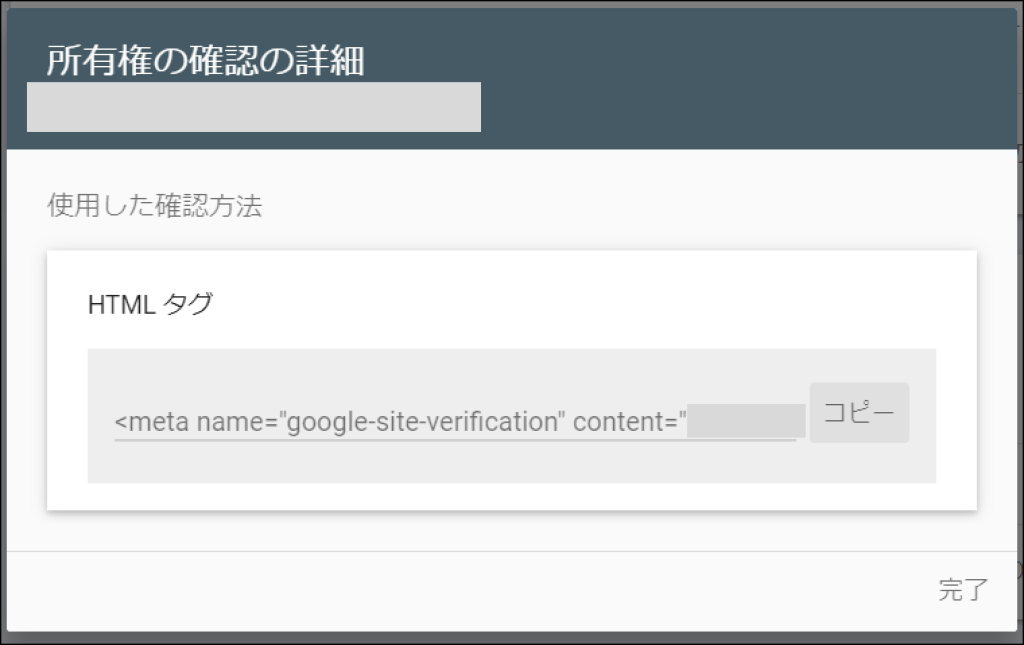
▼三点ドットを選択→「所有権の確認の詳細」をクリック
▼HTMLタグが確認できます
2)【Snow Monkey】HTMLタグの入力
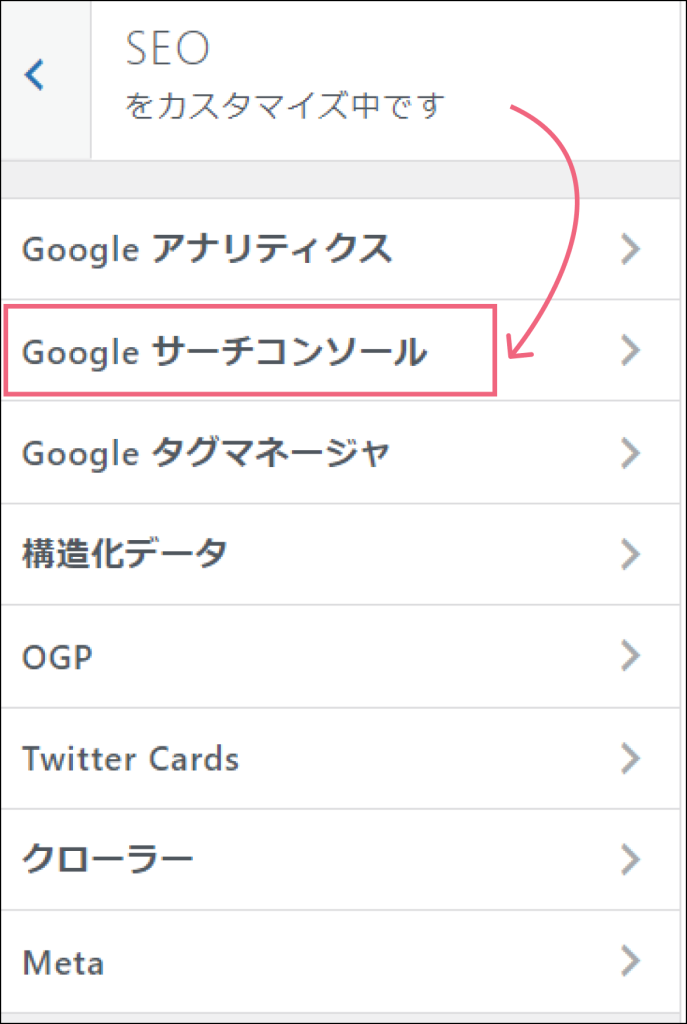
▼ワードプレス管理画面→「外観」「カスタマイズ」→「SEO」→「Googleサーチコンソール」を選択
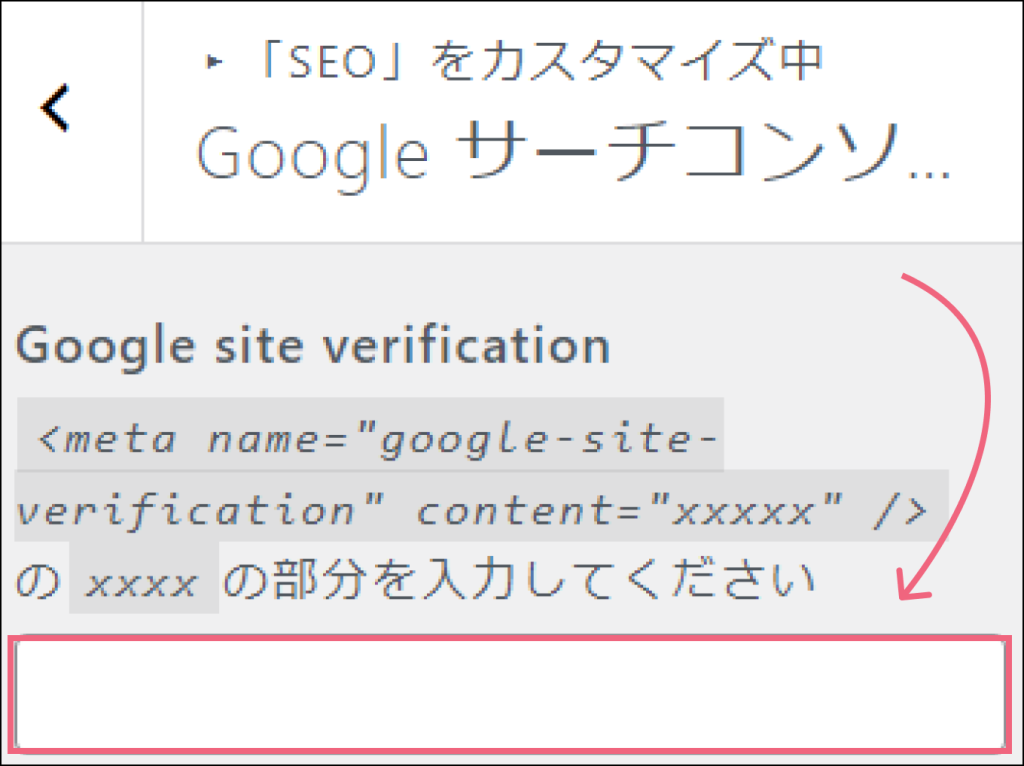
▼先ほど確認したHTMLタグのxxxxxの部分を張り付け→公開
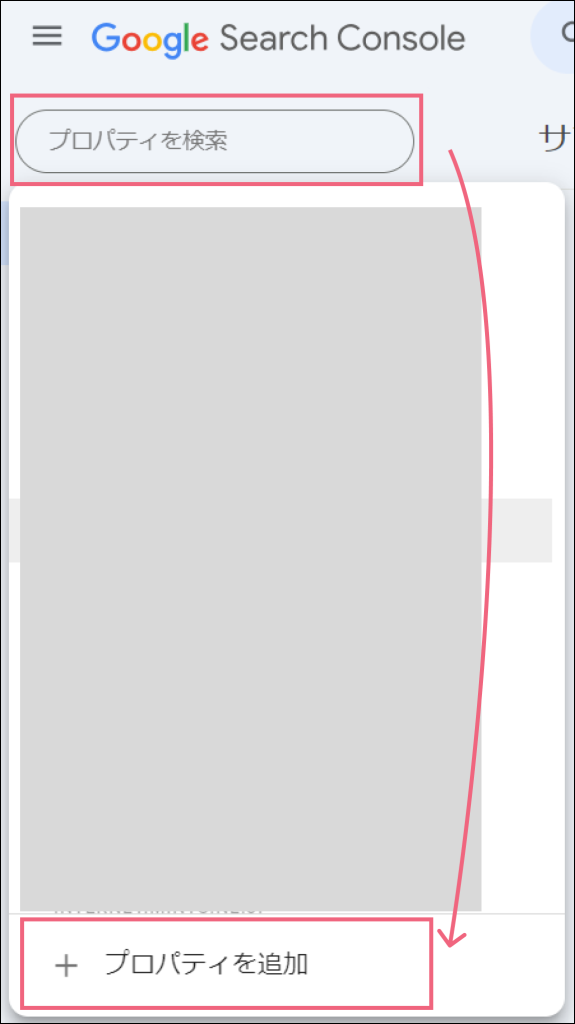
3)【Googleサーチコンソール】プロパティを追加
▼「プロパティを追加」をクリック
▼プロパティタイプの選択でドメインの入力欄に該当サイトのドメインを入力
※「ドメイン」の場合「URLプレフィックス」と違い『https://』と『http://』や『www』の有無について全てのURLへのアクセス調査となる為、正確な測定が可能です
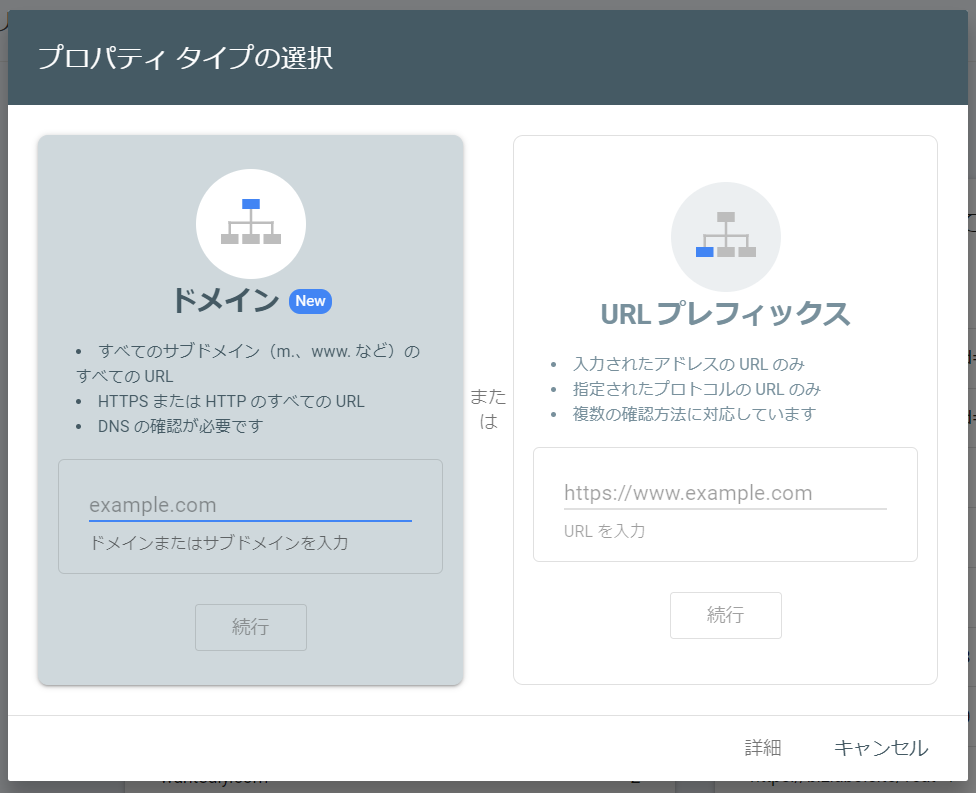
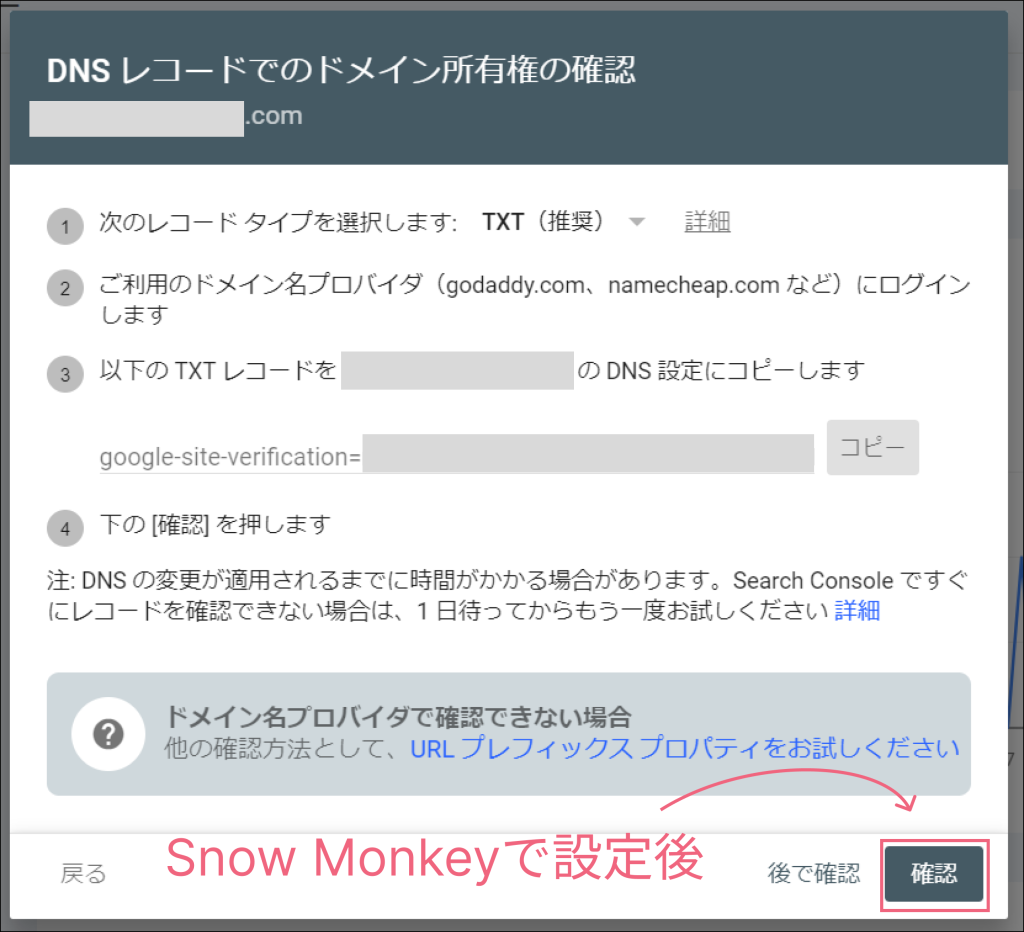
▼確認をクリック
参考サイト
この<meta name=”google-site-verification” content=”xxxxx” />をどこで確認したら良いのかがわからないです。
https://snow-monkey.2inc.org/forums/topic/%e3%82%ab%e3%82%b9%e3%82%bf%e3%83%9e%e3%82%a4%e3%82%ba%e3%81%aegoogle%e3%82%b5%e3%83%bc%e3%83%81%e3%82%b3%e3%83%b3%e3%82%bd%e3%83%bc%e3%83%ab%e3%81%ab%e3%81%a4%e3%81%84%e3%81%a6
GoogleサーチコンソールのHTMLタグを再確認する方法
https://kikuchi-web.com/googlesearchconsole-reconfirmation